George with DIY Paint!
George's
journey of painting begins! At first, it was with my oh-so-expensive
bottles of $0.69 acrylic paint. I thought it would be fine until I
squeezed a third of it out for him, and then I knew it wasn't going to
last long. Also, right on the bottle it said very proudly
that it will stay on almost any surface, with a list that goes on to
describe basically all surfaces in our house. Yeay?! My mom said, "You
can just make paint yourself, you know!". I stubbornly said, "no I
can't. I don't have materials to make paint with." I looked online to
double check (just in case, because I'm not that infallible! ;)), and my mouth dropped! Flour. Salt. Water. ...and some food dye!
Oh my goodness, I was so excited!!! No special clays from mother earth or flowers from Uganda, just Plain Jane kitchen supplies!!! The recipe is so easy to remember too, that I'll never have to look it up again. Below is from memory ;)
1/2 C Flour
1/2 C Salt
1/2 C Water
Food dye as desired
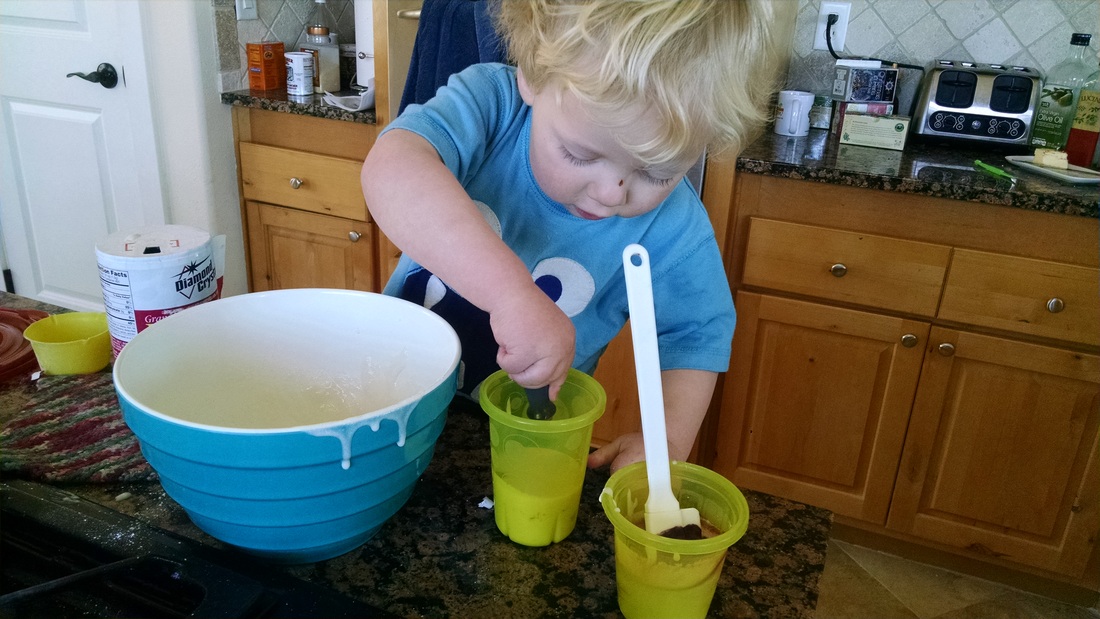
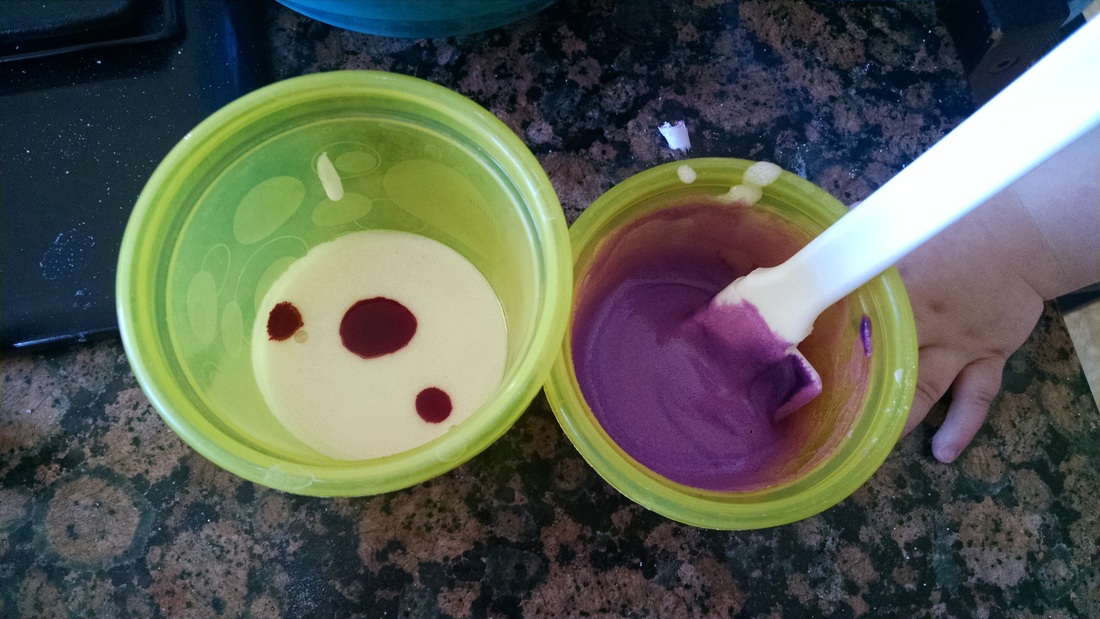
Mix the flour and salt, stir in the water (I used a bit more water) and base is done! Split up in desired containers (cups, jars or sandwich bags) and stir in different food dye colors and blends as desired!
Its not "professional" paint, but it's definitely "toddler grade" paint!!!
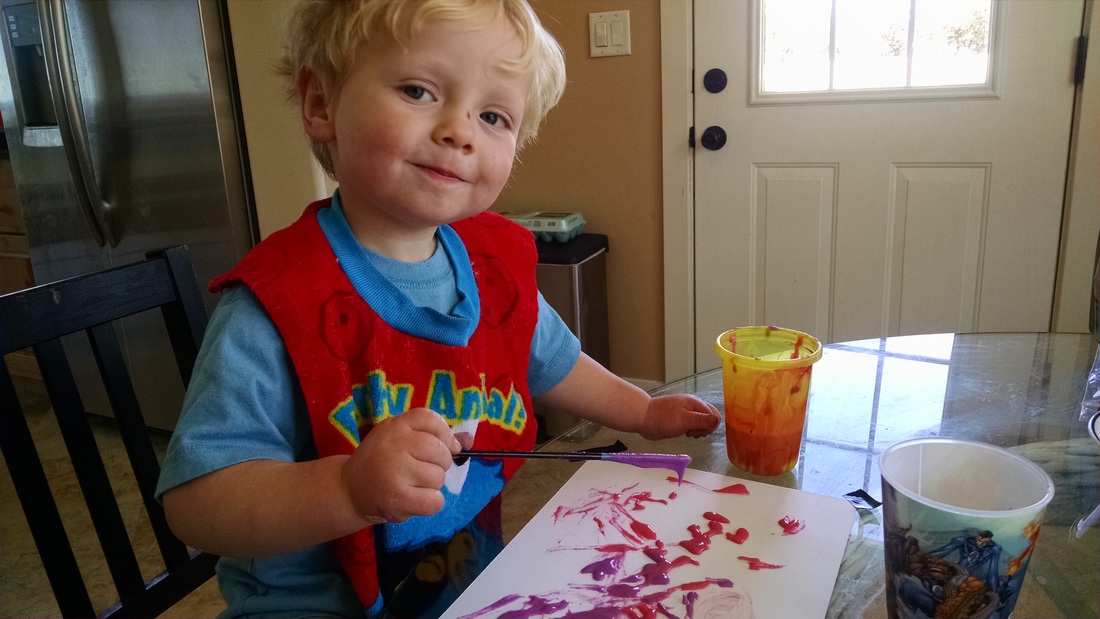
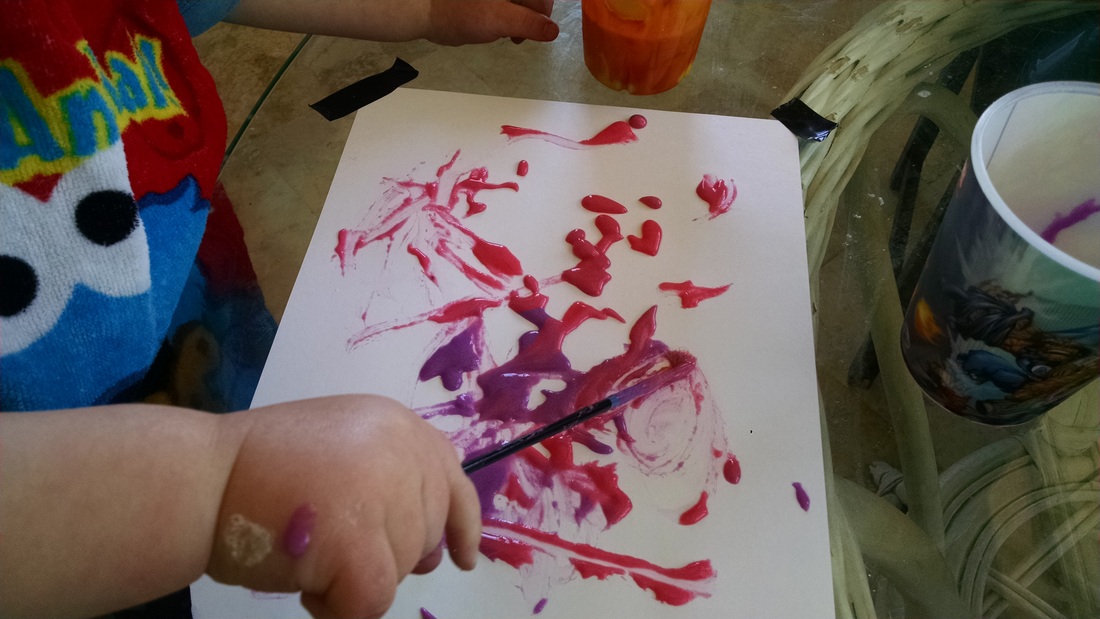
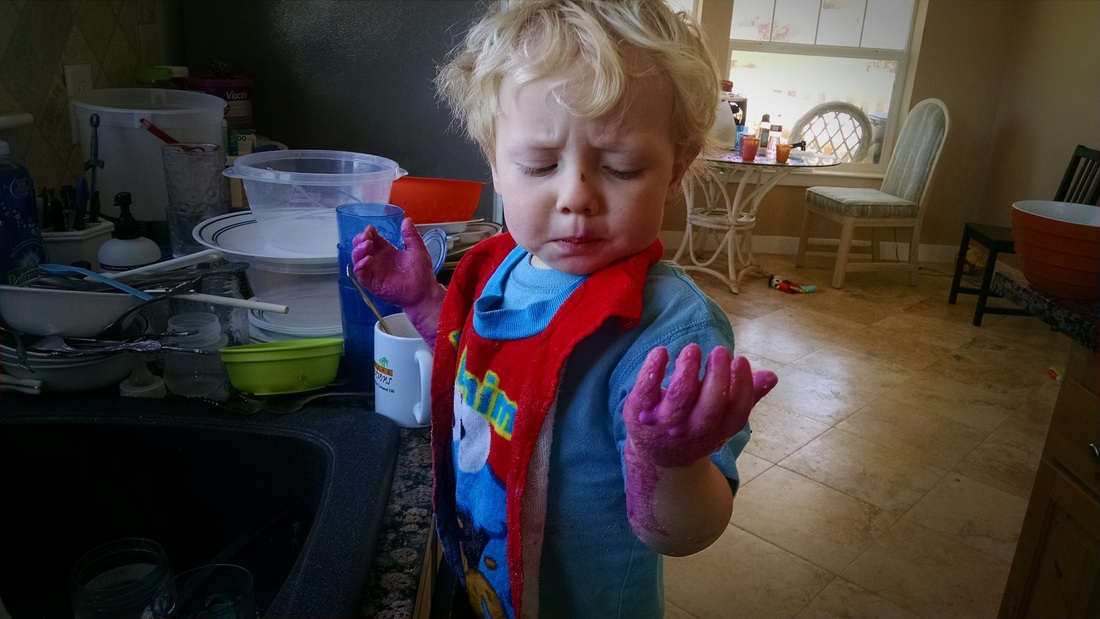
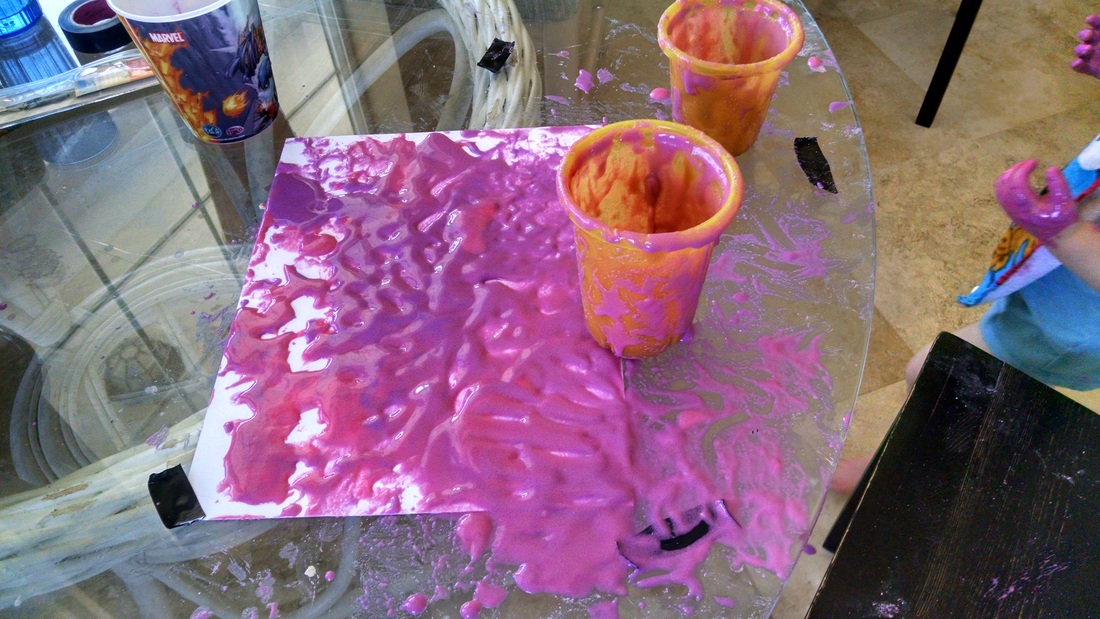
George had the time of his life! We would have used more colors, but the mice sort of got into our food dye. It still looks great in the pics doesn't it though? George did end up using it all... admittedly when I turned my back to check on Emilie, but it was fine because it was cheap and easy to make! Precious paint was spared, creativity was accomplished. I can't wait till Emilie can get in on this! Though I will need a whole body suit for her when she gets started!
Comments
Post a Comment